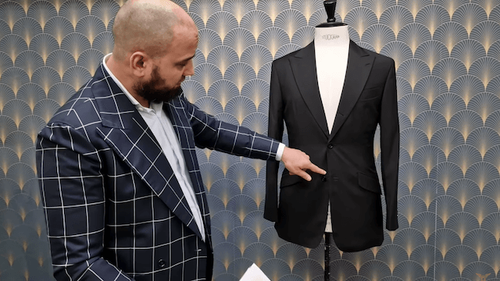
How do you recognize a well-made suit?

A good suit, what are its features?

A well-made suit has a number of features that, apart from the fit, make it easy to distinguish it from less well-made suits such as Made-to-Measure suits. The details of a handmade bespoke suit are easy to recognise and quite obvious when you know what to look for. So let's see what are the points to recognise a well-made suit.

Knowledge, skills and love for tailoring are the recipe for a good suit

Did you know that it takes at least 5 years to become a tailor, we are not talking about 8-hour working days but 16 hours?
It takes another 10 years to become a master tailor.
It takes 40/50 hours to make a 3-piece suit.
It takes 30 hours to make a jacket/jacket.
It takes 8 hours to make a pair of pants or vest.

So there is a difference in quality, wearing comfort and price.
And that is reflected and radiated when you wear a well-made bespoke suit.
Easy to recognise, hard to describe.

Pattern

A well-made suit starts with the individual pattern. These are your specific measurements that are then converted onto paper or directly onto the fabric. You then cut this out and then assemble all the loose parts of the suit by hand. If a pattern is not made for you, you are not making but adapting and that has many limitations. This is the difference between a bespoke suit and an MTM suit. Your own pattern means a suit designed specifically for you, the way you want it. A custom pattern is a standard house with a red or green door where the wearer is often told that this is custom work. I would say do your homework and avoid 'tailors' with coffee machines and beers. So always ask for the patterns and you will know whether your suit is really made by a tailor or whether it is simply ordered with nice marketing around it.

Canvas / Interior

A traditional bespoke suit has a canvas (haircloth) that is inserted by hand between the fabric and the lining. Such a suit is also called full canvas or a suit with a loose interior. The role of the canvas is multi-fold:

1. Provides a better fit on the body and especially at the lapels and neck.
2. This also makes the jacket/jacket more flexible and therefore offers more wearing comfort.
3. The suit is made entirely with natural materials.
4. Suit lasts much longer and can be adjusted over the years.
Read more

Making Working Buttonholes elevates a jacket from good to great

Lees dit artikel in het Nederlands

Elevating a suit jacket from a standard off-the-rack piece to a garment that exudes custom luxury can be accomplished with the addition of working buttonholes, often referred to as "surgeon's cuffs".

This feature allows the sleeves to be unbuttoned, much like a surgeon's coat, which not only adds a touch of elegance but also showcases the skill of a master tailor and good taste.

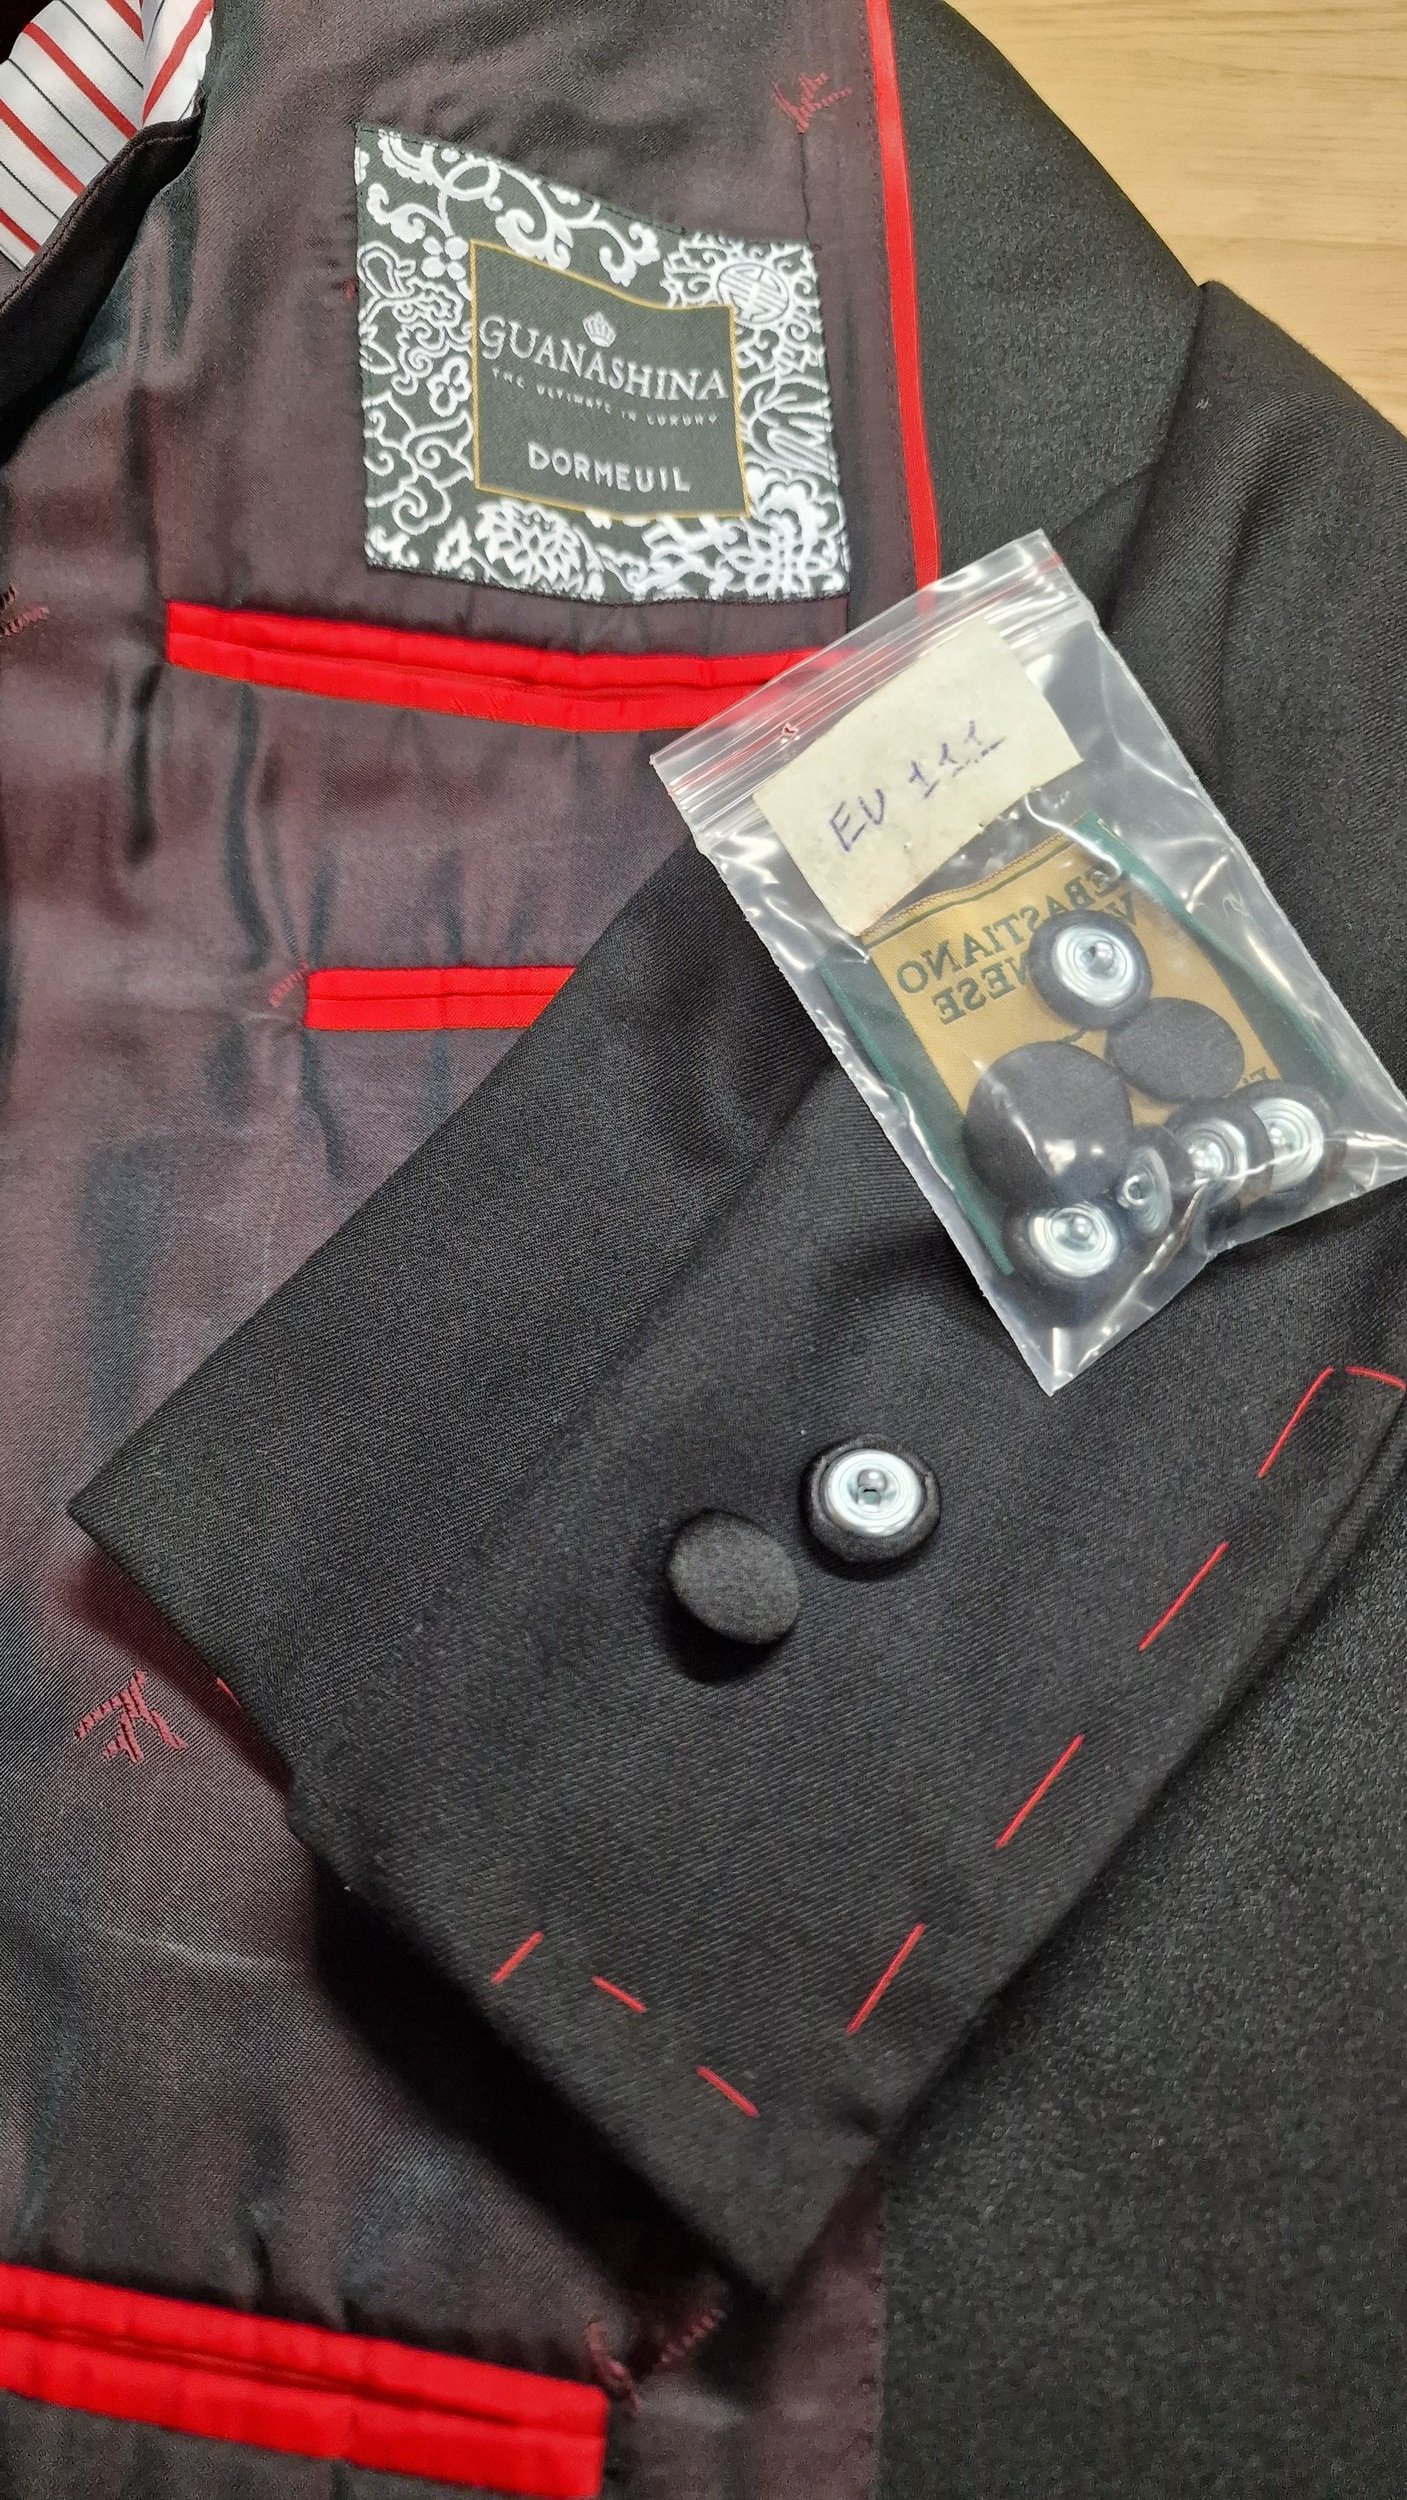
This customisation adds both functionality and a clear indicator of sartorial expertise, especially when applied to a premium Isaia Jacket constructed from opulent Dormeuil Guanashina fabric.

It is a simple but splendid way to elevate a garment from good to great.

The steps to make working buttonholes


1. Planning and Measurement

Identify the Location: Decide on the placement of the buttonholes (typically four), spaced about 2.5 to 3 cm apart, starting around 2.5 cm from the bottom of the sleeve. This precision ensures that the customisation integrates seamlessly with the jacket's elegant design.

Mark the Buttonholes: Use fabric chalk or a marker to accurately mark where the buttonholes will be positioned, ensuring they are perfectly aligned and evenly spaced for a harmonious appearance.

2. Preparing the Buttonholes

Reinforce the Area: Iron a small piece of interfacing on the wrong side of the sleeve at the marked locations to give the fabric additional strength, a step that is particularly crucial when working with high-end materials like Dormeuil Guanashina.

Cutting the Buttonholes: Employ a sharp pair of scissors or a buttonhole cutter to make precise slits for each buttonhole, executing with care to maintain the integrity of the fabric.

3. Sewing the Buttonholes

Hand Sewing: This meticulous process involves using a buttonhole stitch to encase each slit neatly, an approach that demands a steady hand and an eye for detail, reflecting the tailor's adept skill.

Machine Sewing: For those with access to a sewing machine equipped with a buttonhole feature, select the appropriate size and stitch for the fabric. Follow the machine’s guidance carefully to ensure each buttonhole is crafted to perfection.

4. Finishing Touches

Sewing the Buttons: Position the custom-made fabric-covered buttons on the opposite sleeve placket, aligning them with the buttonholes. Hand-sew each button securely, an emblem of the garment's bespoke nature.

Tips for Success

Practice Makes Perfect: Especially when working with luxurious fabrics, it’s prudent to practise on similar material scraps to perfect the technique.

Select the Right Tools: A sharp buttonhole cutter is indispensable for clean cuts, and a buttonhole foot can greatly enhance sewing accuracy.

Patience is Key: The creation of working buttonholes on such a refined garment cannot be hurried. Dedicate the necessary time to each step for impeccable results.